Quick Answer
Open the image in GIMP. Right click the layer thumbnail and choose Add Alpha Channel. Pick the Fuzzy Select tool (keyboard shortcut U), check Antialiasing and Feather edges in the tool options, set Threshold around 30 to 50, click a clean part of the background, and press Delete. Repeat for any leftover areas. Export as PNG to preserve the transparency.
If the background is busy or the subject has hair or fur, swap the Fuzzy Select tool for Select by Color, or use the Foreground Select tool, which traces complex edges far better than a single click can.
What "remove the background" actually means in GIMP
GIMP stores images in layers. Each layer can have an alpha channel, which is a per pixel transparency value. When you delete pixels on a layer that has an alpha channel, the deleted area becomes truly transparent. When you delete pixels on a layer that does not, GIMP has nothing to record the transparency in, so it fills the gap with the current background color (usually white). This is the single most common reason newcomers think they removed a background and ended up with a white silhouette.
Step one: add the alpha channel
Right click the active layer in the Layers panel on the right and choose Add Alpha Channel. If the option is grayed out, the layer already has one and you are good to proceed. The layer name in the panel also tells you; a bold name means no alpha channel, a plain name means there is one.
Step two: choose the right selection tool
GIMP gives you three good options:
- Fuzzy Select (U). A magic wand. Click once and it grows the selection outward through neighboring pixels of similar color. Best for solid color backgrounds.
- Select by Color (Shift+O). Selects every pixel in the image that matches the clicked color, regardless of contiguity. Best for backgrounds with the same color appearing in several disconnected areas.
- Foreground Select. Lets you paint over your subject roughly, then refines the edge using contrast detection. Best for hair, fur, or any complex silhouette.
Step three: tune the threshold
In the Tool Options panel on the left, the Threshold slider controls how aggressively the Fuzzy Select tool jumps from one pixel to the next. A low threshold (around 15) selects only pixels almost identical to the one you clicked, leaving harsh halos. A high threshold (over 100) leaks into your subject. Start at 30 to 50 and adjust based on the preview.
Always tick Antialiasing and Feather edges with a small radius of 1 to 2 pixels. These two options smooth the selection boundary so the cutout does not look jagged at any zoom level. Without them, even a perfect color separation looks amateur.
Step four: click, delete, repeat
- Click once on a clean area of the background.
- Look at the selection ants (the dashed selection outline). They should trace your subject neatly.
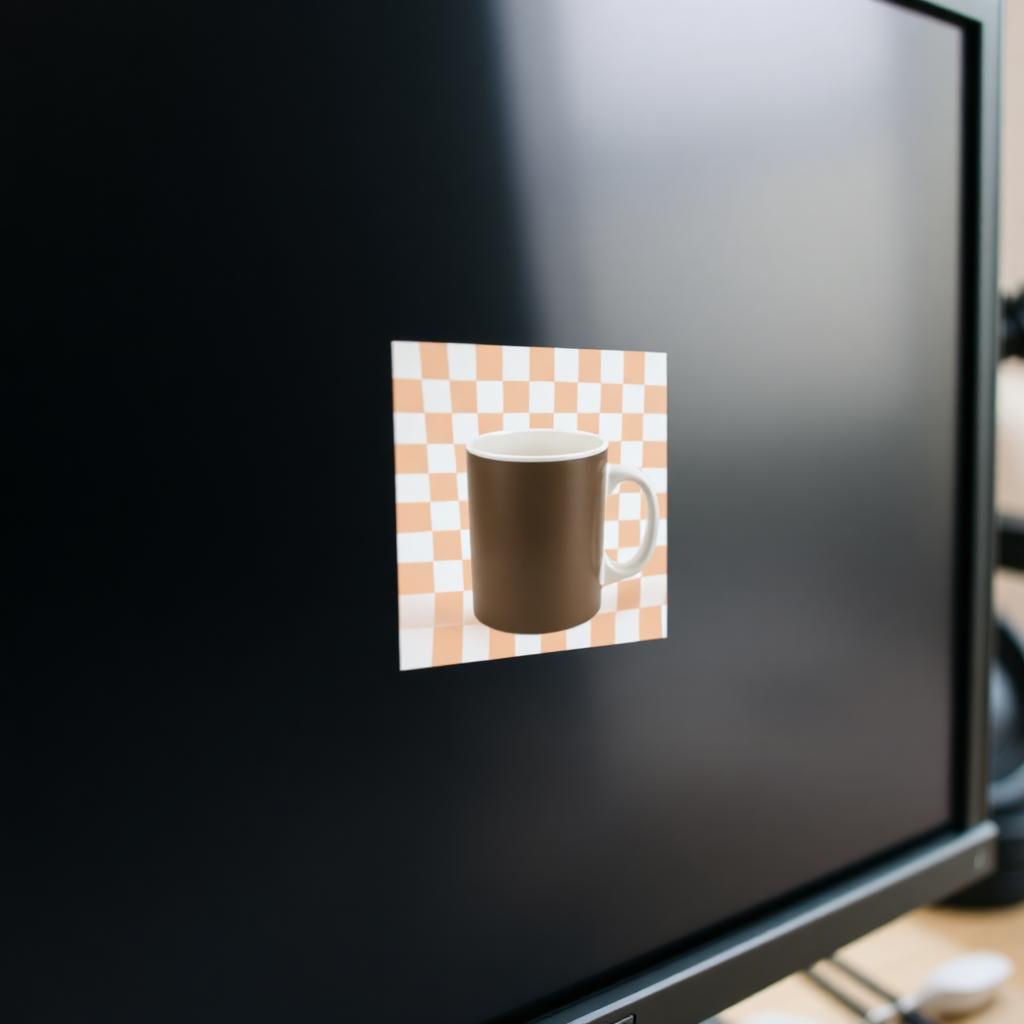
- Press Delete. The selected area becomes a transparency checkerboard.
- If parts of the background remain (often the case with gradients), click again in an unselected background patch and Delete again.
- When done, choose Select, then None (Shift+Ctrl+A) to deselect.
Cleaning up edge artifacts
After deletion, zoom in to 200 percent and look at the silhouette. Common artifacts and their fixes:
- Color halo. A faint outline of the old background color. Use Layer, Transparency, Color to Alpha and pick the halo color to remove it from the entire layer. Use a small Color erase ratio first to avoid eating into your subject.
- Jagged stair stepping. Antialiasing was off. Undo, turn antialiasing on, and redo the selection.
- Holes inside the subject. Your threshold was too high. Undo, lower it by 10, and try again.
- Missing edge detail. Hair or thin lines vanished. Switch to the Foreground Select tool, which uses a different algorithm and preserves fine edges.
The Foreground Select workflow for hair and fur
- Pick Foreground Select from the Tools menu.
- Draw a rough lasso around your entire subject. Press Enter when the loop closes.
- The image dims, and the cursor becomes a brush. Paint over your subject (not the background) without worrying about precision.
- Press Enter again. GIMP computes a refined selection that follows the actual contrast edge.
- Invert the selection (Ctrl+I) and press Delete to remove the background.
This is the only built in GIMP method that competes with paid tools on hair, transparent glass, and fur. It takes 30 seconds longer than Fuzzy Select but the result is dramatically better.
Exporting so the transparency survives
The single mistake that wastes all this work is saving as JPG. JPG does not support transparency; the file will look like you flattened to white. Use File, Export As, and choose a filename ending in .png. In the export dialog, accept the defaults. The resulting PNG keeps the alpha channel and works as an overlay in any modern app, web page, or design tool.
If you also want a working file you can re open and tweak, File, Save As stores the layered version as .xcf, GIMP's native format. The PNG is your delivered asset; the XCF is your source.
When to consider an alternative
For a single image with a complex subject, web tools like remove.bg use trained machine learning models that handle hair, glass, and motion blur cleanly in a single click. They are free for small images and paid for high resolution. GIMP wins when you need batch control, want the file to never leave your machine, or are working on a subject the ML tools struggle with, such as line art, anatomical illustrations, or scientific images.
The takeaway
Alpha channel first, then a selection tool matched to the image, then a feathered delete, then export as PNG. The whole sequence is six clicks. The mistakes that look like GIMP problems are almost always one of three things: missing alpha channel, the wrong selection tool for the subject, or exporting to JPG and losing transparency. Fix those and GIMP holds its own against any paid editor for background removal.