Quick Answer
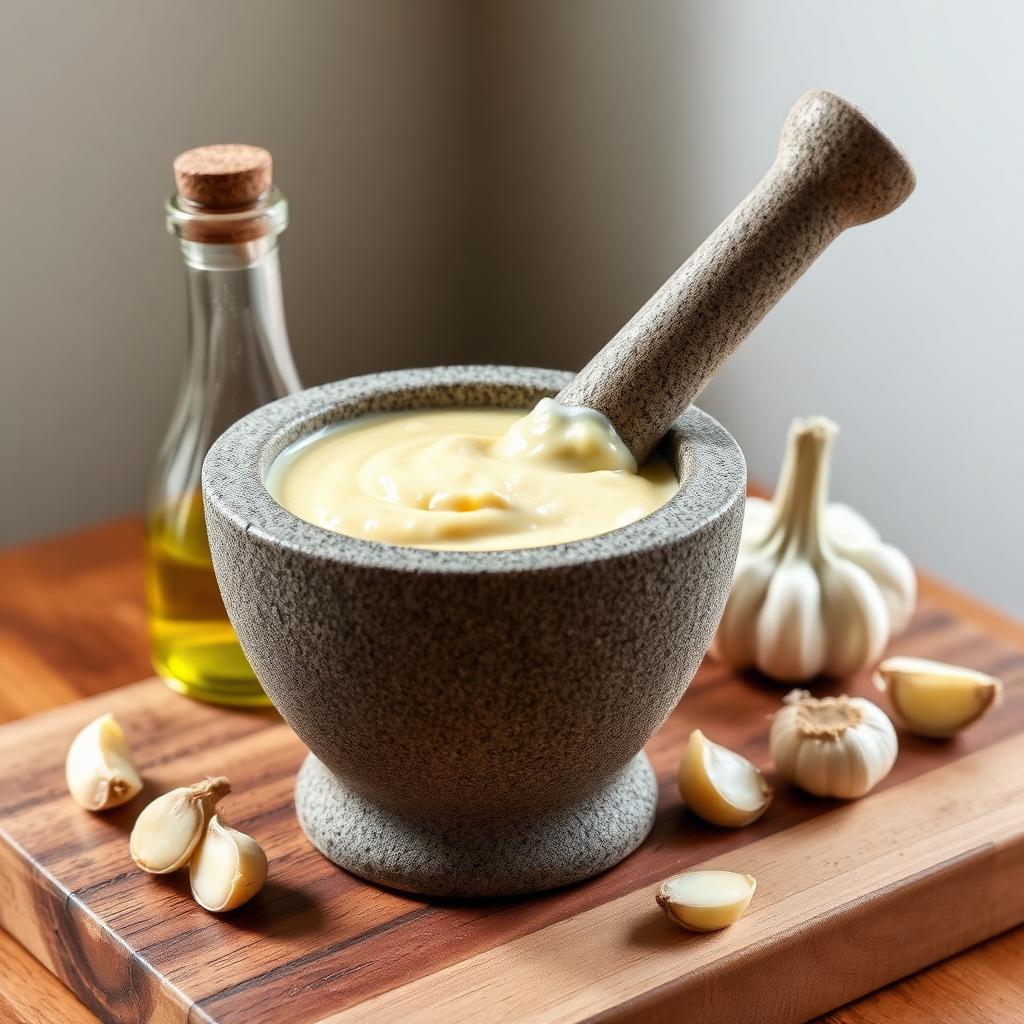
Crush 4 to 6 peeled garlic cloves with half a teaspoon of coarse salt in a mortar until they form a smooth paste. Then add good olive oil two drops at a time, grinding constantly in a circular motion, until the paste turns pale and thick. Once stable, drizzle the remaining oil in a thin steady stream while you keep grinding.
Finish with a teaspoon of fresh lemon juice to stabilise the emulsion and brighten the flavour. Real Provençal or Catalan aioli contains no eggs and no jarred mayo, just garlic, olive oil, salt, and optional lemon.
What real aioli actually is
Most "garlic aioli" served in modern restaurants is mayonnaise with garlic powder stirred in. That is delicious, but it is not aioli. The traditional sauce, called allioli in Catalonia and aïoli in Provence, is built from garlic and olive oil alone. The emulsion is held together by natural plant compounds released when garlic cells are crushed.
This matters because the texture and flavour are completely different. Real aioli is fiercely garlicky, intensely fragrant, and dense enough to stand a spoon in. Garlic mayo is mild and creamy. Both have their place. This guide is about the real thing.
What you need
- 4 to 6 plump fresh garlic cloves, peeled (older cloves with green sprouts are bitter, remove the sprout)
- ½ teaspoon coarse sea salt
- ¾ to 1 cup good extra virgin olive oil (a mild Spanish or French oil, not a peppery Tuscan one, unless you like that bite)
- 1 teaspoon fresh lemon juice (optional but recommended)
- A stone or marble mortar with a wooden or stone pestle
You cannot make true aioli in a food processor. The blades move so fast they generate heat and break the emulsion. A mortar and pestle is essential.
Step one: crush the garlic to a paste
Drop the peeled cloves into the mortar with the salt. The salt acts as an abrasive, grinding the garlic faster and helping it dissolve. Pound and grind in a circular motion for 2 to 3 minutes until you have a completely smooth, sticky, translucent paste. Lumps mean you stopped too early.
This crushing step is what releases the lecithin-like mucilages from inside the garlic cells. Those compounds are the emulsifier that lets oil and water-soluble garlic juice stay bound. Rush this step and your aioli will refuse to thicken later.
Step two: the drop-by-drop emulsion
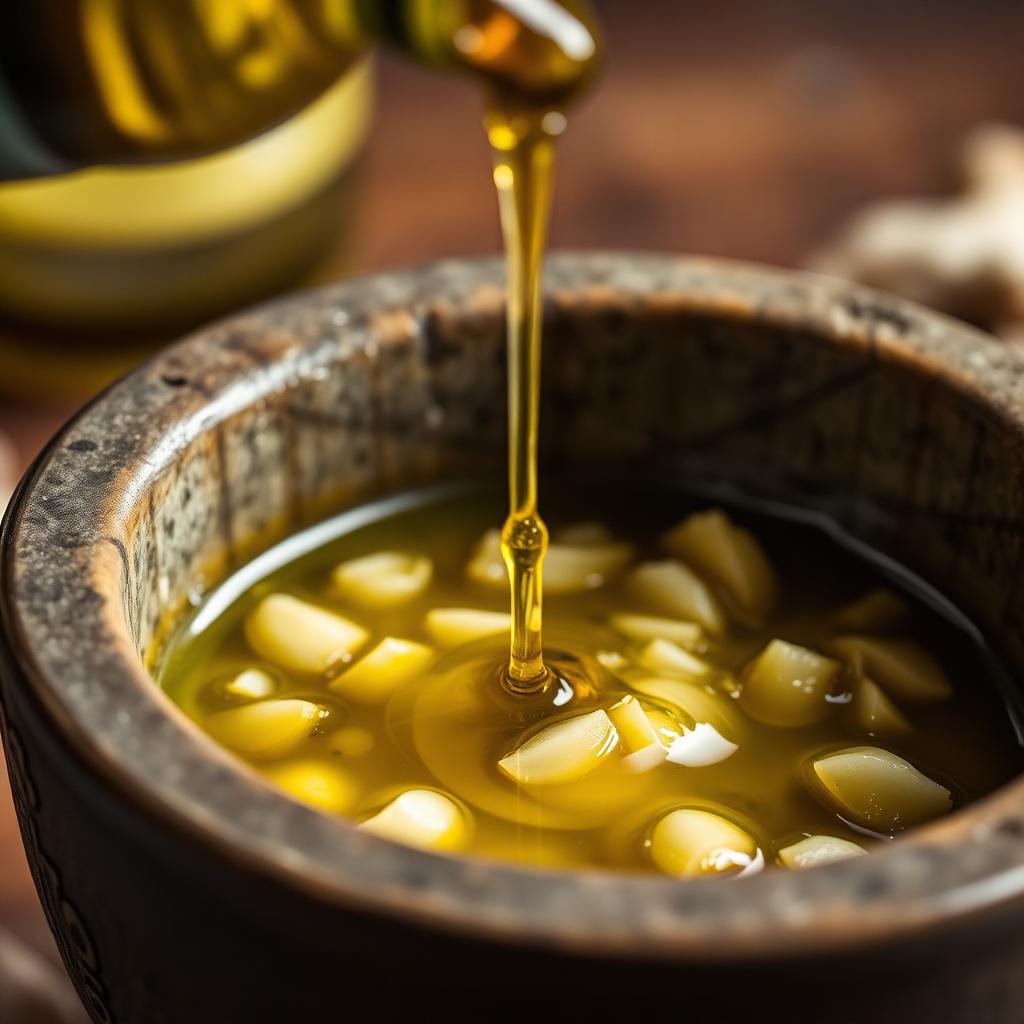
This is the make-or-break stage. Hold the bottle of oil over the mortar and add two drops at a time. Grind vigorously in a continuous circular motion between additions. The paste will absorb each tiny addition.
Keep going drop-by-drop for the first 5 minutes. Yes, really five full minutes of drops. If you dump oil in faster, the lecithin cannot wrap around enough oil droplets fast enough, the oil pools, and the sauce splits into a sad puddle.
You will see the moment it works: the paste lightens in colour, thickens, and starts to climb the sides of the mortar. That is the emulsion forming.
Step three: pour the rest in a thin stream
Once the emulsion is established and the mixture is visibly glossy and thick, you can pour the remaining oil in a slow, steady stream the width of a piece of string. Keep grinding without pause. Add oil until the aioli reaches a thick, mayonnaise-like consistency.
Finish with the teaspoon of lemon juice. The acid stabilises the emulsion (so it lasts longer in the fridge) and cuts through the heavy oil. Taste, and add a pinch more salt if needed.
What to do if it splits
Splitting happens. Do not throw it out. Tip the broken sauce into a measuring jug. Wash and dry the mortar. Put one fresh small garlic clove and a pinch of salt back into the mortar, pound to a paste, then start adding the broken aioli back drop-by-drop, exactly as you did with the oil. The fresh garlic gives you a new emulsion base, and the broken sauce becomes the "oil" you are slowly incorporating. It almost always rescues itself.
How to use it
Traditional aioli is served alongside grilled fish, roasted lamb, boiled potatoes (the classic Provençal grand aïoli platter), poached cod (Catalan style), seafood paella, or as a dip for crusty bread and crudités. Spread it on a tomato sandwich and you will never go back to mayo.
Keep refrigerated in a sealed jar for up to 3 days. It will firm up in the fridge; let it sit at room temperature for 15 minutes before serving.
Frequently asked questions
Can I use a blender or food processor?
Not for true egg-free aioli. The high-speed blades heat the oil and break the delicate plant emulsion. If you do not have a mortar, use a small bowl and a sturdy wooden spoon to crush the garlic, then whisk in the oil drop by drop with a regular balloon whisk. It is slower but works.
Why is mine bitter?
Two likely causes. Old garlic with a green sprout inside (remove the sprout before crushing), or a peppery polyphenol-rich olive oil that turns sharp under mechanical agitation. Switch to a milder oil such as a French Provence or Spanish arbequina.
How long does it keep?
Refrigerated in a sealed jar for up to 3 days. The raw garlic flavour mellows after the first 24 hours, which many people actually prefer. Discard if you see any separation or off-smell.
Is raw garlic safe?
Yes, when refrigerated promptly and used within 3 days. Garlic stored in oil at room temperature can grow Clostridium botulinum, so refrigeration is non-negotiable.
The takeaway
Real aioli is four ingredients, one tool, and a lot of patience. Crush garlic to a smooth paste with salt, add olive oil two drops at a time until the emulsion forms, then finish in a thin stream. Get the drop-by-drop start right and the rest is easy.